Editing scanned stamps
As you have seen scanned images are cut out and straightened automatically. For various reasons it can happen that the cutting and/or straightening process does not have a satisfactory result. You have, however, the possibility to edit the images manually.
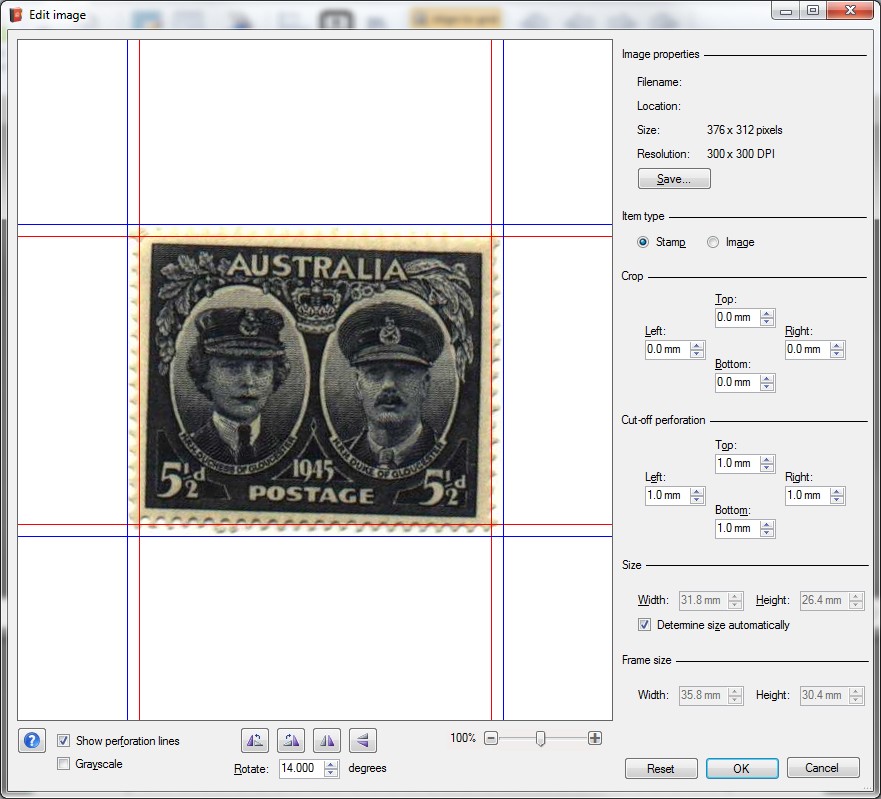
As an example we take a look at the black stamp of the former paragraph. On the toolbar "Pictures" you can see that the stamp is not well straightened. We will straighten the image manually with the help of the screen "Edit image". Double click on the black stamp on the toolbar "Pictures" or click with the right mouse button and select the menu option Edit. The following screen appears:
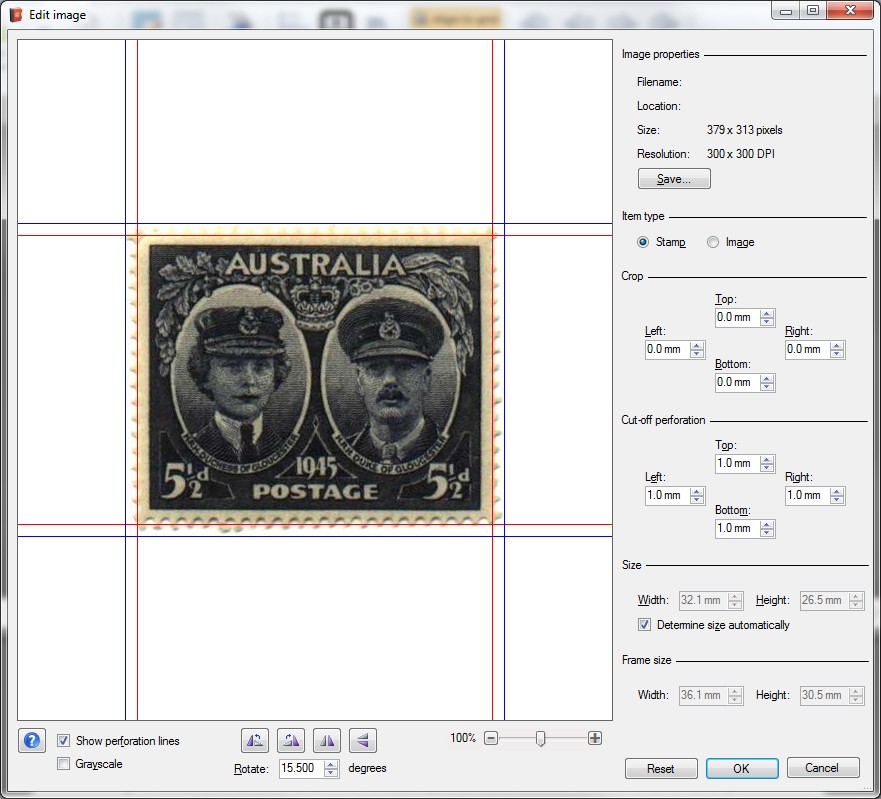
The image will be shown in the large area. It is clearly visible that the stamp has not been straightened well. This is caused by the irregular perforation at the bottom of the stamp. You also see that Stamp Album Studio has rotated the stamp by 14,000 degrees from the original scan. We change this to 15,500 degrees.
The blue lines indicate where Stamp Album Studio has cut out the stamp from the original scan. Especially at the bottom you see that the stamp has not been cut out well. This can be modified in 2 ways. The first and fastest method is by dragging the blue line with the mouse. Therefore move the mouse to the blue line. The mouse pointer now changes into a double vertical arrow:  .
.
Click on the left mouse button and drag the line until it cuts off the perforation on the right length. Release the mouse button. Now you have properly cut out the stamp. If you wish you can do the same with the upper, left and right side:
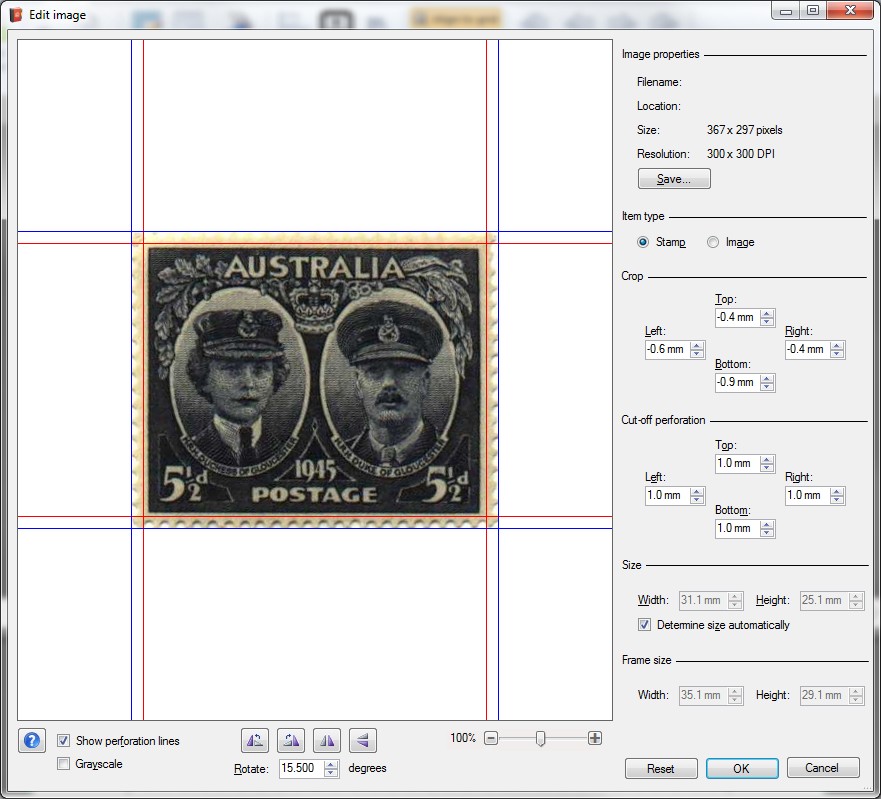
The second method for cropping stamps is with the help of the edit fields Crop on the right side of the screen. You can see that the fields have a value which results from dragging the blue lines.
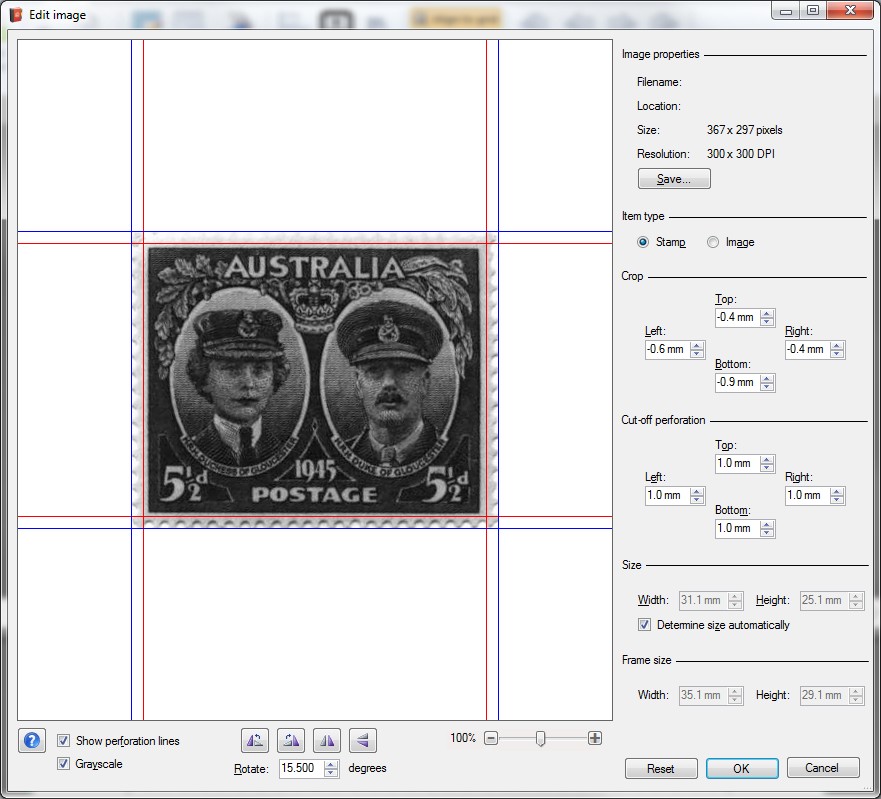
When you use the stamp in your album most of time you want the image to be shown in gray values. This can easily be achieved by setting the Grayscale option:
Next to the stamp its size is shown: 31,1 x 25,1 mm. Stamp Album Studio has determined this automatically. Everytime you crop your images differently the size will be adjusted.
You also see that the size of the stamp's frame has been calculated: 35,1 x 29,1 mm. This value has been determined by adding 2 mm. of white space on each side of the stamp. The standard amount of white space to be added can be adjusted by the setting "Distance between stamp and stamp frame" on the tab page "Layout" on the screen "Settings". (Main Menu option Settings)
Sometimes the size of the stamp has an incorrect value. This mostly happens with image files which do not contain the correct value for the resolution. You can change the size by unchecking the option Determine size automatically.
If you place the stamp on an album page in most cases you would like to show the pictures without perforation. You can use the "Cut-off Perforation". This function can be used in two ways: with the edit fields Cut-off perforation on the right side of the screen, or by dragging the red lines.
By default Stamp Album Studio cuts off a band of 1 mm. of the perforation. This standard size can be adjusted with the help of the setting "Cut-off perforation on" on the tab page "Layout" on the screen "Settings".
Note:
By using the function "Cut-off Perforation" you only determine the visible part of the image for later use on your page. You do not change the size of the stamp. You can change the size of the stamp with the "Crop" function.
We have now finished editing the stamp. Click on the OK button. You will notice that the image on the toolbar "Pictures" has also been changed.
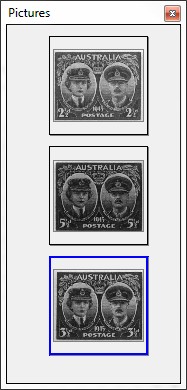
Finally we can also edit the other two images in the same manner. The toolbar "Pictures" will now look like this:
Note:
In the online Help all possibilities of the function "Scan and analyze" are described in detail.
Copyright © 2015, Arvades